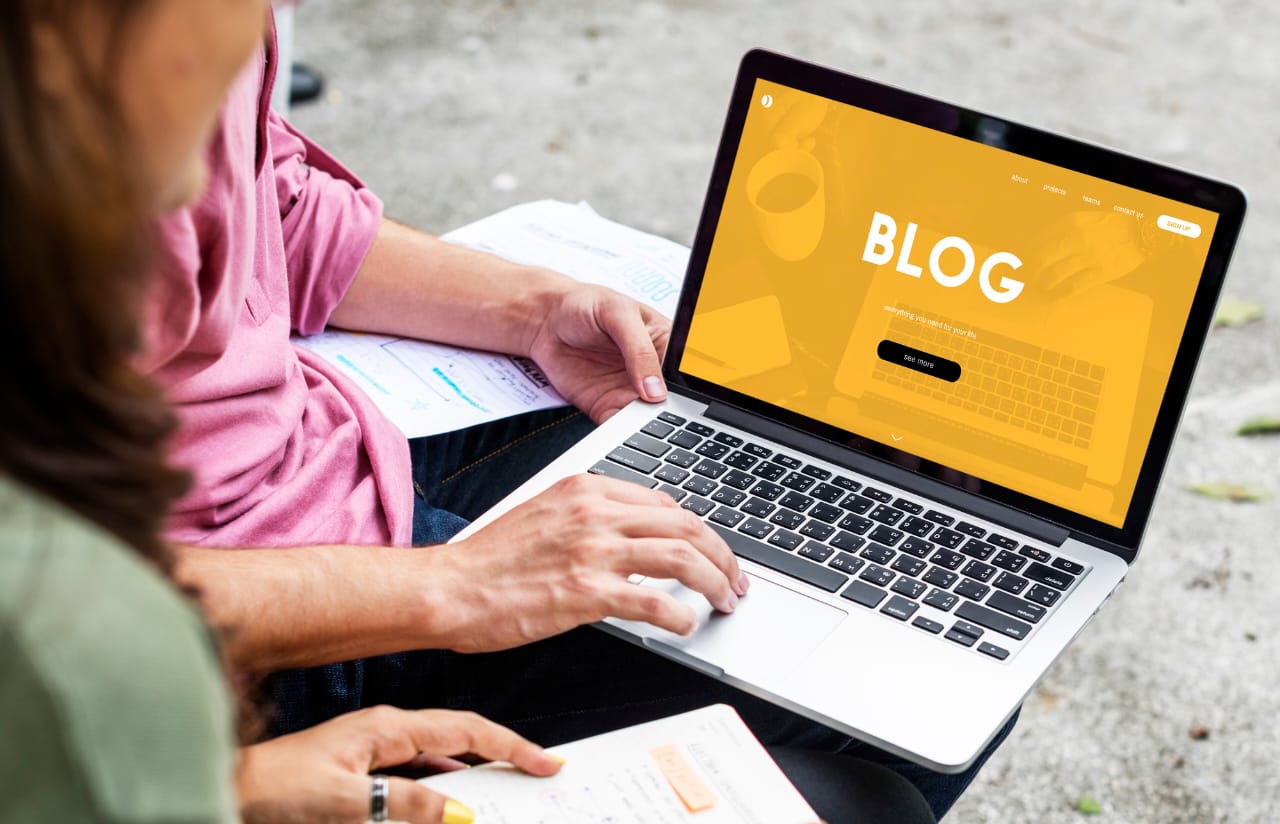
The blog creation phase refers to the process of designing, building, and launching an online platform for sharing information, expressing opinions, or demonstrating expertise in the form of an online diary or journal. This process goes through several crucial steps, transforming an idea into a fully functional and engaging online platform.
At its core, blog creation begins with conceiving a unique value proposition, identifying a particular topic or theme, and creating an appealing brand identity. It involves choosing an appropriate blogging platform, registering a domain name, and choosing a reliable web hosting service. The process also involves creating a visually appealing and user-friendly interface, creating high-quality and engaging content, and optimizing search engines to improve visibility and gain organic traffic.
Effective blog creation involves installing the necessary plugins and tools, such as social sharing buttons, contact forms, and analytics software, to enhance user experience and track performance. Additionally, it involves developing a content strategy, creating a content calendar, and implementing a regular posting schedule to maintain audience engagement and loyalty.
Ultimately, the blog creation process culminates in the launch of a fully functional and optimized blog that connects with the target audience, establishes the blogger’s authenticity and credibility, and achieves the desired goals and objectives. By following a structured approach, bloggers can create a successful online presence, build a loyal community, and drive meaningful conversations around their chosen topic or theme.
To set up a blog platform of your own
- Go to https://www.blogger.com/start2 and click the orange “ create a Blog” button.
- Fill out the registration information, click that you accept the terms of service, then click “Continue.”
- Fill out the information on the next screen, officially opening a Google account, then click “Continue.”
- Give your blog a name (remember—it must correspond to your chosen character!) and choose a unique URL address. Check availability on the URL you choose, and once you find one available, click “Continue.”
- Now comes the fun part: scroll through the available templates and choose one you think your character would like. Click “Continue.”
- Congratulations! You should see the “Your Blog is Created” screen. Click “Start Blogging Now.”
To create a post (the most recent posts will always appear at the top of your blog)
- Sign in to your blog at https://www.blogger.com/start2 with the email and password you provided during set-up.
- You’ll now see your dashboard page, with several options for what to do. Click the blue bubble that says “New Post.”
- Type a title for your post—this will appear above the text in your blog—then enter whatever text you want in the box. You can also add pictures, videos, or links (see below). The menu at the top will allow you to change the font, size, and color of your text, if you wish. Keep your graphic design interesting, but remember that the text in your post is more important than turning every letter into a rainbow color. Try to make design decisions that you believe your character would do.
- Click “Publish Post option.” You will now be able to choose “View Blog,” “Edit Post,” or “Create New Post.” Select any option from these.
To add an image to a post
- Save an images to your desktop. If it’s not an image you took, be sure to write down the source information and include it in the Cited Sources section on your blog.
- Hover your mouse over the menu of options icons just above the text box on the “New Post” page. Click the small blue box with a mountain that says “Add Image” when your mouse passes over it.
- In the new box, click “Browse” and then select the image file from your desktop. Choose the options to make the image small, medium, or large. You can format and add up to five images at a time.
- Click “I accept the Terms of Service” and then click “Upload Image.” Your images should appear in your post shortly.
To add a video to a post
- Save a video file to your desktop. If it’s not a video you took, be sure to write down the source information and include it in the Cited Sources section on your blog.
- Hover your mouse over the menu of options icons just above the text box on the “New Post” page. Click on the little film strip that says “Add Video” when your mouse hovers over it. Select the file from your desktop, give the video a title, agree to the terms of service and then click “Upload Video.”
To add a link to a post
- Copy the any types of desired /related URL from your web browser.
- Copy the link of the desired /related URL into your post, then highlight it again with the mouse.
- Hover your mouse over the menu of options icons just above the text box. Click the one with the green circle that says “Add Link” when your mouse passes it. Paste or retype your link into according to your choice in the box and click OK.
- Your text should change color and become a link.
To edit or delete a post
- From your main blog page (you can always access this page by selecting “View Blog”), select “New Post.” On the new post page, just above the main box, select the “Edit Post” link.
- This will take you to a page showing all total types of past posts. You can click the box for any post and then select “Edit” on the far left. This will take you back to the page as if you were still working on the post the first time. You can make any changes you want and then click “Publish Post.” The new post will replace the old post.
- If you want to delete the post completely, click “Delete” on the far right of the “Edit” page for the selected post.
To add a group of links, text, a poll, or an image to the sidebar
- From your main blog page (you can always access this page by choosing “View Blog”), select “Customize” in the upper right corner.
- From the “Customize” page, you can add any number of page elements. At the top right, select “Add Gadget option.”
- Scroll through your gadget options, choosing the one according to your choice that you want: “Poll,” “Link List,” “Picture,” or “Text.” You can also try adding other various types of gadgets—experiment!
- Follow the instructions for the gadget you chose and then click “Save” to place the gadget in your sidebar. This will return you to the Layout page.
- Back on the Layout page option, you can click “Preview option” to see what your new gadget looks like as , or you can click “Save option” to make it part of your blog.
- You can always remove a gadget from the Layout page by clicking “Edit” in the gadget’s box and then choosing “Remove.”
- You can also rearrange your page elements by clicking and dragging any element in this page to a new location.
To add a footer image or quote
- From your main blog page (you can always access this page by selecting “View Blog”), select “Customize” in the upper right corner.
- From the “Customize” page, you can add any number of page elements. Select “Add Gadget” at the bottom of the page. You can now add an image or text to the bottom, just as you did to the sidebar in the previous menu.
Read Also:
- Blogging For Beginners
- How To Set Up Your First Blog
- Recommended Blogging Tools, Tips, And Resources
- How To Create Captivating Contents For Your Blogs
- Blogging and Uses of Blogs in Libraries



Leave a Reply