How To Install WordPress


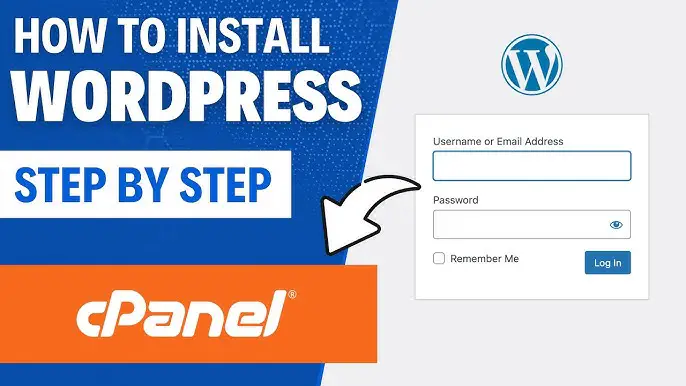
Installing WordPress is actually not all that difficult. There are a few different ways in which it can be accomplished. You could hire someone to do it for you, but there is honestly no reason to unless you just want to scrub that task off your to-do list faster. I really don’t recommend that as a newcomer you do a manual install. It involves creating a MySQL database on your hosting account. Then using FTP to upload and install WordPress. There is a lot of room for error and frustration. Since this is for beginners, focus on the automatic installation. Your hosting account provider probably has a way to automatically install WordPress for you. The most popular option is to use Fantastical (and some hosting accounts use something called Softaculous which is similar to Fantastical) which this tutorial will guide you through. It’s really just a matter of following the instructions. Seriously! Here are the steps…
• Log into your cpanel. Your login and password should be provided by your website hosting provider.
• Scroll down until you see the Fantastical icon. It is in the Software/Services section of your hosting cPanel. Click on the icon.
• Look for the word WordPress on the left side of that page and click it.
• Now click on New Installation.
Now it’s time to configure your installation. We will walk you through the main steps.
Section 1: Installation Location
Section 1 is where you choose where to install your WordPress blog. If you need to install it on a subdomain or addon domain, click on the dropdown box and choose the correct domain. If you want to install it in a directory, e.g. yoursite.com/blog, instead of just yoursite.com, enter it in the Directory box. Otherwise, you don’t need to select anything here.
Section 2: Administrator Access Data
This is where you need to enter your admin username and password. Don’t choose anything obvious here. This means choosing an administrator username that is hard to guess (not your name or the word ‘admin’). For your password, don’t use a password used on another site, and include a combination of letters, numbers, special characters and capital letters. This is to help protect your WordPress site against hackers.
Section 3: Base Configuration
You can now enter your name as you want it to appear to the public on your website. In this section you can the word “admin”. Use something obvious like just your name or you may also want to enter an email address (this is where you will receive notifications about your blog such as new comments) and your site name and description. You can change this information at a later date, so don’t worry about it for now. Once you’re done, click Install WordPress. Next you’ll be asked if you want to create a database. Click Finish Installation. You will now see the results of your installation. Note that you are now given a login link for your WordPress dashboard – this is circled in red in the example above. Make sure you note this login URL, as well as your username and password. You will need this to make changes to your site! You can also enter your email address in the box so that you can be emailed. To protect your details, you will want to make sure your email account is also protected with a strong password if you choose to use this option! Now you are done! Easy, right?!
Read Also:
- Things You Will Need To Build A WordPress Website
- Something About WordPress
- Why Start Blogging With WordPress
- Top 10 WordPress Plugin For Blog
- Which One To Start Blogging With? Difference Between WordPress VS Blogger
- Rank Math VS Yoast? Which Is The Best WordPress Plugin For SEO
- How To Fast WordPress Blog Site
- Top Free Plugin For WordPress
- How To Create A Personal Blog With WordPress.Com
Recent Posts
US President’s Big Claim, India Agrees To Reduce Tariff: US Will Impose ‘Tit For Tat Tax’ From Tomorrow; China, Japan, South Korea United Against It
US President Donald Trump is going to impose tit for tat tax across the world…
America Will Impose ‘Tit For Tat Tariff’ From Today: Trump Will Announce It At The Make America Wealthy Again Event; Israel Removes Custom Duty On American Products
US President Donald Trump will announce the imposition of tit for tat tariff (reciprocal tariff)…
America Imposed 26% ‘Tit For Tat Tariff’ On India: Trump Said- Modi Is A Good Friend, But Is Not Behaving Properly; New Tariffs Will Be Implemented From April 9
US President Donald Trump on Thursday announced to impose 26% tit for tat tariff (reciprocal…
Decline In The Price Of Gold And Silver: Gold Fell By ₹ 119 To ₹ 90,996, Silver Is Being Sold At ₹ 99,536 Per Kg; See The Price Of Gold According To Carat
The price of gold and silver fell today i.e. on 2 April. According to the…
Value Of 8 Of The Top 10 Companies Increased By ₹88 Thousand Crores: HDFC Bank Is The Top Gainer, Market Cap Increased By ₹44,934 Crores, Infosys’ Value Decreased By ₹9000
In terms of market valuation, the market value of 8 of the 10 largest companies…
Musk Sold X To His Own Company Xai: Deal Done For ₹2.82 Lakh Crore, Bought In 2022 For ₹3.76 Lakh Crore
Elon Musk has sold his social media company X to his own artificial intelligence (AI)…


